
Table Of Contents
How to Choose Bike Lights for Night Riding?
Choosing bike lights for night riding starts with the route, not the biggest lumen number on the package. A rider moving through well-lit city streets needs a different beam and runtime from someone descending an unlit road or following a technical trail. Speed changes how far ahead you must see. Ambient light changes how much illumination the road already provides. Traffic changes how visible you need to be from the front, rear and sides.
A useful setup balances enough light for the environment, a controlled beam, runtime in the mode you will use, a mount that stays aimed and protection suited to the weather. Local rules may also govern colors, reflectors and flash modes.
Quick Answer: How to Choose Bike Lights for Night Riding
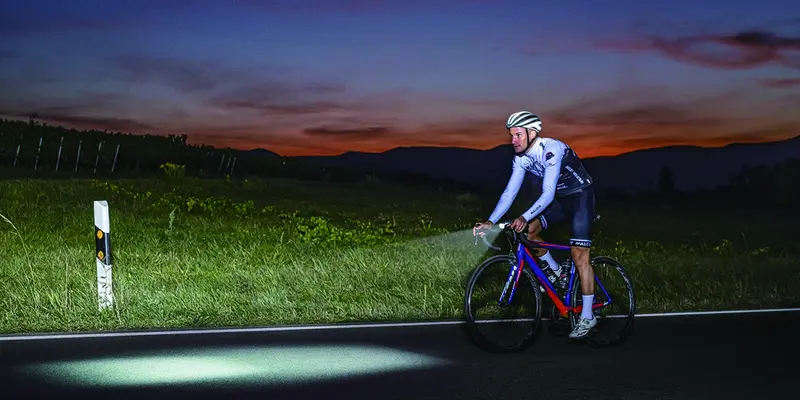
Choose bike lights for night riding by answering four questions in order. First, do you need a light mainly to be seen, to illuminate the road, or to do both? Second, how dark and fast is the ride? Third, how long must the necessary steady mode last? Fourth, can the beam be mounted securely and aimed without dazzling other road users?
For a lit urban route, a moderate front light and a visible rear light may be enough. Unlit roads need more forward reach and dependable sustained output. Gravel and technical trails need wider peripheral coverage, and faster riding demands more useful light farther ahead. Treat the advertised maximum as one data point. Compare beam pattern, runtime by mode, battery indicator, mount stability, water-ingress rating and local requirements before buying.
Bike Lights for Night Riding: Seeing the Road vs. Being Seen
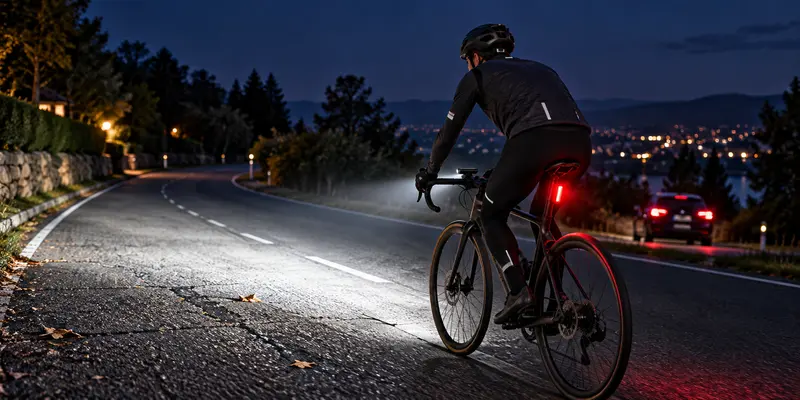
The first distinction is functional. A be-seen light helps motorists, pedestrians and other riders notice you. It often uses a broad visible surface, side spill or a conspicuous pulse pattern. A seeing light must reveal the surface ahead with enough distance and contrast for you to respond to potholes, debris, bends or trail features. It normally needs more output, stronger optical control and a steady mode.
Many riders need both functions. Street lighting can make a small lamp visible without giving the rider a clear view through a dark patch. Conversely, a narrow high-output headlight may illuminate far ahead while offering poor visibility from an oblique angle. A complete system considers both views.
The brightest bike lights for night riding are not automatically right for a shared path or bright street. Upward spill can create glare, high output drains the battery faster and a larger cell adds weight. The goal is enough usable light for the intended speed and environment.
Choose Bicycle Lights for Night Riding by Riding Environment
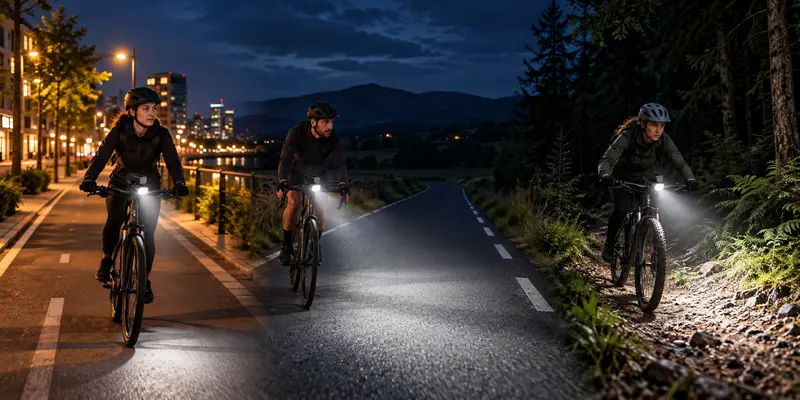
Use the following ranges as practical starting points, not as legal minimums or guarantees of safety. Published guides differ because optics, test methods, speed and ambient light differ. A well-shaped lower-output beam may show the road better than a higher-output lamp that scatters light.
| Riding environment | Main job | Front-light starting range | Beam and setup priority |
|---|---|---|---|
| Well-lit city streets | Be seen and fill short dark gaps | About 200 to 500 lumens | Controlled near-field beam, side visibility, dependable rear light |
| Mixed urban and suburban routes | See through changing light | About 400 to 800 lumens | Adjustable modes, clear battery status, secure handlebar aim |
| Unlit roads at moderate speed | See pavement and bends ahead | About 600 to 1,200 lumens | Forward reach with controlled spill and useful sustained output |
| Fast roads and gravel routes | Extend reaction distance | About 1,000 to 1,500 or more lumens | Balanced throw and peripheral light, strong mount, runtime margin |
| Technical mountain-bike trails | Read corners, roots and uneven terrain | About 1,200 to 2,000 or more lumens | Wide bar beam; consider a lighter helmet beam that follows your gaze |
Because route conditions change, multiple steady levels are useful. A commuter can lower output under streetlights and increase it for a dark greenway. A trail rider may combine a broad bar light with a bicycle helmet light for tight corners, while keeping both aimed away from oncoming eyes.
How many lumens do you need for night bike riding?
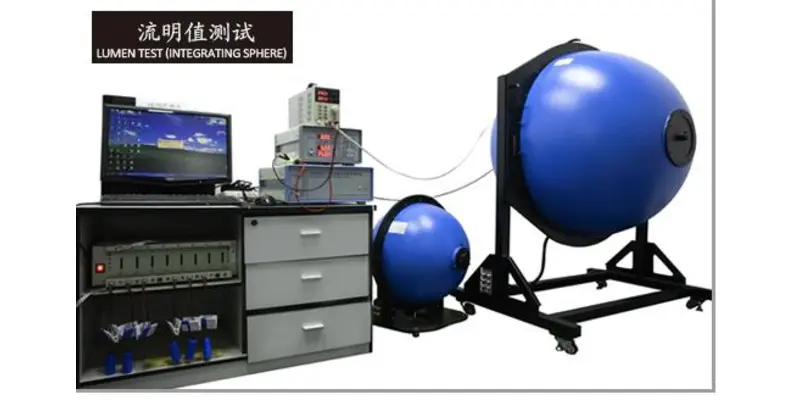
For most night riding, the useful answer is a range: roughly 200 to 500 lumens on well-lit streets, 600 to 1,200 on dark roads, and 1,200 or more for faster or more technical off-road riding. The correct point within that range depends on beam design, speed, weather, surface color and how well your eyes can adapt to surrounding light.
Lumens describe total luminous flux. They do not describe where the light lands. Lux describes illuminance on a surface, so it is more closely related to what reaches the road at a defined point, but lux figures are only comparable when the distance and test conditions are stated. This is why two lamps with the same maximum lumen rating can create very different views.
Also ask how long the light sustains its output. Thermal control or falling battery voltage may reduce brightness after the initial peak. Compare beam distribution, runtime in the intended mode and behavior as the charge declines. Faster riding requires useful light farther ahead.
Why Beam Pattern Matters in Good Bike Lights for Night Riding
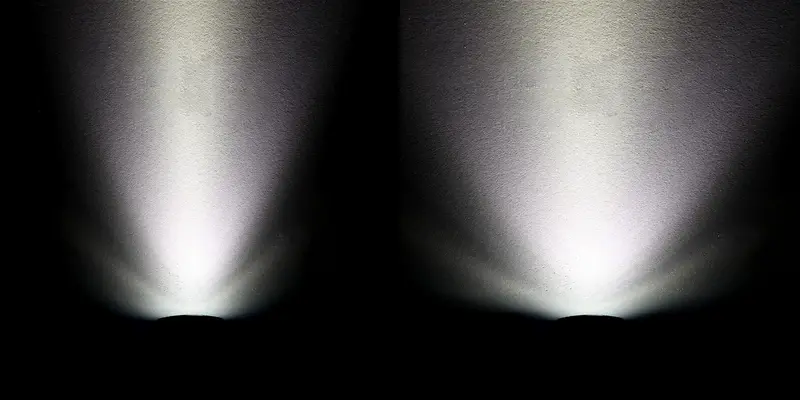
Good bike lights for night riding put light where the rider needs it. A flood beam covers a wider area and improves peripheral awareness. A throw beam concentrates more light farther ahead. A controlled road beam limits upward spill and can reduce glare for oncoming users. None of these descriptions alone makes a product better; the right balance depends on the route.
City and road riders usually benefit from a smooth beam that shows the near field and reaches ahead without a harsh hotspot. Gravel and trail riders need more peripheral light for bends and line choice. A narrow helmet beam can complement a broad bar beam, but it adds weight and can point into another person’s eyes.
Aim matters as much as the optic. Test on level ground and lower the beam if it reaches oncoming eye level. Recheck after rough surfaces; a moving hotspot may indicate a weak bicycle light mount, not a weak LED.
CONWICO’s currently listed OH1C-1000 provides a concrete product example: the published specification lists a 1,000-lumen maximum, a 125-degree wide flood beam and a beam distance over 150 meters. Those numbers describe the model, not every bicycle light, and they still need to be evaluated against the rider’s route, mounting angle and local road requirements.
Check Runtime by Mode in Rechargeable Bicycle Lights
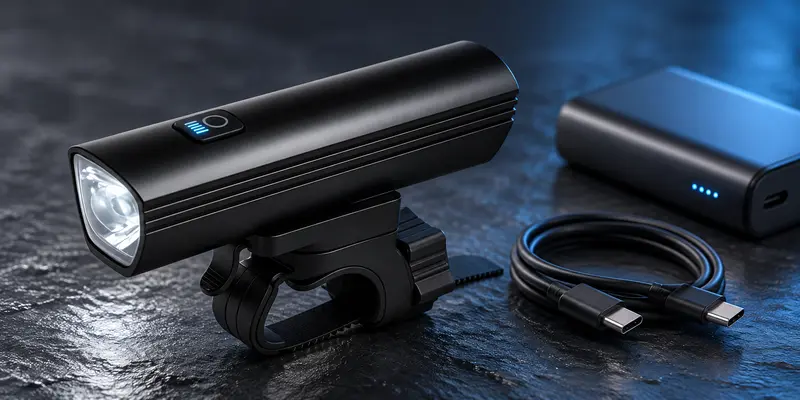
Compare rechargeable bicycle lights at the output you expect to use. A package may advertise a long runtime that applies only to the lowest or flashing mode. For an unlit road, the relevant figure is the runtime of the steady mode that gives adequate forward visibility. Build in a margin for detours, stops, cold conditions and gradual battery aging. A practical planning target is 25 to 50 percent longer than the expected time in darkness.
The OH1C-1000 illustrates why mode-level data is useful. Its product page lists approximately 2.5 hours at 1,000 lumens, 5.7 hours at 500 lumens, 11.5 hours at 250 lumens and 15.5 hours at 100 lumens. It also lists a 200-lumen daytime flash at approximately 63 hours and an 80-to-200-lumen breathing flash at approximately 20 hours. The model uses a 21700, 4,000 mAh bicycle light battery, Type-C charging and a four-color battery-level indicator.
These figures are more useful than one maximum-runtime claim. A longer ride may require a lower steady level, a charging stop or another light. Verify pass-through operation before relying on a power bank; not every light can run while charging.
Bicycle Light Mount Stability and Aiming for Night Riding
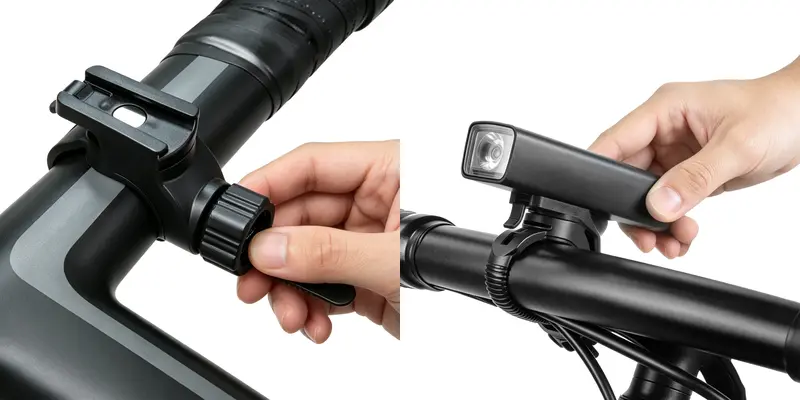
A bicycle light mount must hold the selected angle through vibration, braking and rough surfaces. Flexible band mounts are quick to transfer between bikes and work well for many compact lights, but they can rotate if the light is heavy or the road is rough. Rigid clamps usually provide more stable aim, though they require correct sizing and installation.
Check handlebar diameter and shape, cockpit space and interference with cables, computers or bags. A quick release helps with charging and storage only if it remains firm after repeated use. The OH1C-1000 uses a quick-release bracket and tool-free light removal.
A bicycle helmet light follows the rider’s gaze and can reveal a trail exit before the handlebar points into it. That benefit is strongest off-road. On roads, a stable handlebar beam keeps weight off the head and is more predictable. If two lights are used, give them complementary jobs instead of doubling glare.
Weather Protection and Local Rules for Bicycle Lights for Night Riding

Weather protection for bicycle lights for night riding should match rain, spray, dust exposure and cleaning habits. Read the complete IP code. In an IP rating, the first numeral declares protection against solid objects and the second declares water protection. When an X appears, that part of the rating has not been specified. IPX6 therefore declares a water-ingress level but does not declare a dust rating; IP67 declares both dust protection and a defined water-ingress level.
An IP rating does not permit every kind of washing or immersion. Follow the instructions, keep seals clean and inspect the charging area after wet rides. CONWICO lists the OH1C-1000 as IPX6, so describe its water-ingress rating without calling it dust-tight.
Lighting law is local. Rules may govern colors, reflectors, mounting, visibility, beam patterns or flashing. UK guidance, for example, requires a white front light and red rear light at night and recommends a steady front lamp without good street lighting. Other markets require their own check.
Bicycle Lights Front and Rear: Plan a Complete Night-Riding Setup
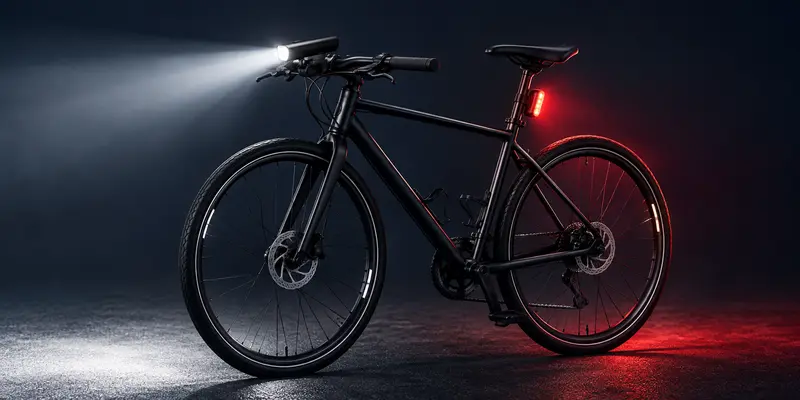
Planning bicycle lights front and rear avoids a common failure: choosing an effective headlight while leaving the rider hard to see from behind. The front light should match the need to see and be seen from the approach direction. The rear light should present a clear red signal from directly behind and from useful side angles. Bags, jackets, racks and seatpost orientation must not block it.
Use a steady front beam to read the road. A daytime pulse can improve conspicuity, while an aggressive night flash may hinder distance judgment or breach local rules. In a group, avoid a rear pattern that distracts the rider behind.
Before leaving, view both lights from front, rear and oblique angles. Press the mount to confirm its aim and check each battery indicator. On a long night ride, carry a compact backup rather than relying on a phone flashlight.
Night-Riding Checklist for the Best Bike Lights for Night Riding
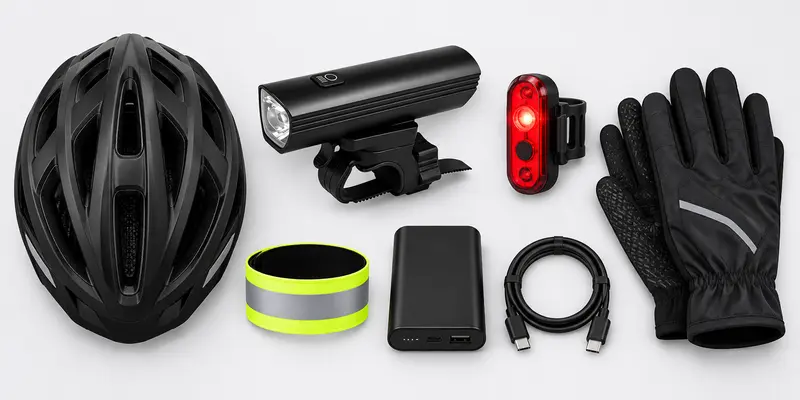
Use this checklist to compare the best bike lights for night riding for your specific route:
- Define the darkest section, typical speed and total time after dark.
- Decide whether the front light must illuminate the road, improve conspicuity, or do both.
- Choose a starting lumen range, then compare beam shape and reach rather than output alone.
- Check runtime in the exact steady mode required for the darkest section.
- Add a 25 to 50 percent runtime margin for delays and changing conditions.
- Confirm the mount fits the bar or helmet and holds its aim over rough surfaces.
- Check the full IP code and the manufacturer’s use and charging instructions.
- Plan a front white light, a rear red light and required reflectors for the local market.
- Test visibility from several angles and make sure clothing or luggage does not block the rear light.
- Carry a backup on remote or extended rides and recheck battery status before departure.
A light passes the checklist when its useful beam, mode-level runtime, mount and environmental protection fit the same riding scenario. One impressive specification cannot compensate for a weak system.
Bike Lights for Night Riding FAQ
What are the best bike lights to be seen on every ride?
Choose a setup that is visible from the relevant directions, stays securely mounted and is easy to use. Look for a white front light, red rear light, side visibility, clear battery status and locally permitted modes. A compact daytime flasher may still need a steady headlight after dark.
What are the best headlamps for biking at night?
Choose a purpose-built bicycle helmet light with a compatible mount, low weight, adequate runtime and a suitable beam. It is most useful on winding trails because it follows the rider’s gaze. On roads, avoid aiming it at others and keep a stable handlebar light as the primary beam where appropriate.
What is the best bike headlight bulb for night driving?
Most modern LED lights for bicycles integrate the LED, optic, driver and battery rather than using a replaceable bulb. Compare the complete headlight: beam, sustained output, runtime, charging, housing and mount. A high-output LED cannot correct a poor lens or unstable bracket.
What is the best 1000 lumen bike light for night riding?
There is no universal best. The right model sustains useful output, shapes the beam for the route and remains securely aimed. CONWICO’s OH1C-1000 lists a 1,000-lumen maximum, 125-degree flood beam, 4,000 mAh battery, six modes, Type-C charging, IPX6 rating and quick-release mount. Compare those model-specific facts with the checklist.
Is 1000 lumens bright for a bike light?
Yes. It is a high-output starting point for many unlit roads and some gravel or trail riding, provided the beam and runtime fit. It can be excessive on a bright city street, so use a lower mode and correct aim when maximum power is unnecessary.
Choose Bike Lights for Night Riding as a Complete System
The right bike lights for night riding match the full ride: environment, speed, beam, runtime, mounting, weather and local rules. Start with the job the light must perform, then compare usable performance in that scenario. This approach is more reliable than choosing the largest lumen number or the longest runtime printed anywhere on the package.
Explore CONWICO’s bicycle front lights to compare 600, 800 and 1,000-lumen models. Cycling brands and distributors working on a custom bicycle light development project that needs a different beam, runtime, mounting system or branded package can also review CONWICO’s OEM and ODM bicycle light services and submit a project requirement.